How to Install Windows 7 on MacBook Pro Using Boot Camp
Somewhat similar to the Using Boot Camp to install Vista on your Mac walkthrough, this tutorial will take you every step of the way through installing Microsoft Windows 7 on your Intel Mac (running 10.5 or later), using Boot Camp.
Note: if you’d rather not dual boot OS X and Windows 7, you can always install Windows 7 in a virtual environment using Parallels Desktop 6.0 for Mac.
To install Windows 7 on your Mac using Boot Camp you will need the following:
All firmware updates installed on your Mac (use Apple Button -> Software Update… to check)
A Windows 7 installation DVD
Your OS X Leopard or Snow Leopard installation DVD
Around 30GB of empty hard drive space on your Mac. You can probably get away allocating less than 30GB to Windows 7, but it will leave very little room to install anything in Windows.
An hour if all goes well, up to 5 hours if not
Though not absolutely required, it’s a VERY good idea to have a complete and up to date Time Machine backup of OS X – it really came in handy for me. Because part of the process involves partitioning your drive, there’s always the distinct chance something will go wrong and everything will be wiped out.
Patience, possibly a great deal of it. Having a book handy will also help kill time during the partitioning, installing etc).
Installing Windows 7 via Boot Camp
Here goes. First thing – close absolutely every open program you can. That includes those things running in the Apple Menu that you always forget about. Don’t worry about killing the Dock or Dashboard – having those running is fine.
Now open a Finder and navigate to
Applications ->
Utilities and double-click
Boot Camp Assistant.

Click
Continue on the initial Introduction screen. Ignore the fact that it doesn’t mention Windows 7 as a possible OS to install.
Now you have to decide how much space you want to allocate to Windows 7. You might be able to get away with going as low as 10GB, but I would highly advise against it. You’ll have almost no space left over to install software, and your page file in Windows might cause frequent crashes. I opted for 20GB, which left me with just a bit over 16GB to use after installing Windows 7. To change the amount of space to dedicate to Windows 7, click the small divider between Mac OS X and Windows, and drag it to the left.

Once you’ve determined how much space you want to allocate to Windows 7, click the
Partition button.

The partitioning itself doesn’t take particularly long. If you receive an error, proceed to step 10 of the “How to install Vista with Boot Camp” tutorial. It provides all the troubleshooting info you need to resolve partitioning issues. Once you’ve cleared up any problems, or if everything just goes smoothly, proceed with the next step in this tutorial.

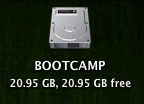
Once completed you’ll notice a new
BOOTCAMP drive on your desktop.
Now insert your Windows 7 DVD and click the
Start Installation button.

Your Mac will restart, and Windows 7 will boot. You’ll be prompted with a window asking you which partition you want to install Windows on. Select the one with
BOOTCAMP in the
Name column. Selecting
anything else may wipe out OS X or cause serious problems. Then select the
Drive options (advanced) link.

With the
BOOTCAMP volume still selected, click the
Format link.

Click
OK
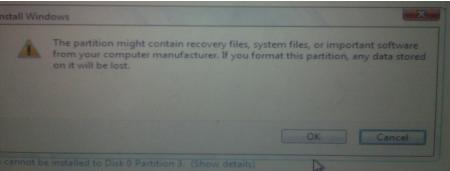
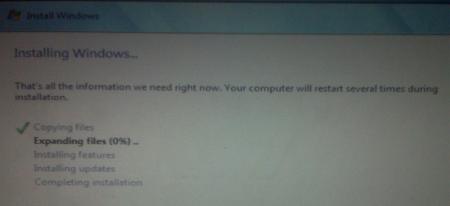
And Windows 7 will begin to install. It’s a fairly boring process, so you may want to grab yourself a cup of coffee or your beverage of choice. But don’t go too far away, because when your system reboots, you’ll need to
remove the Windows 7 DVD.
With the Windows 7 DVD removed, your Mac will automatically boot back into Windows 7, and the installation will complete. You’ll be prompted to select your language, keyboard layout etc.
The rest of the Windows 7 installation process is very straight forward. Once the installation has completed and your Mac has restarted again, you’ll be able to use Windows 7.
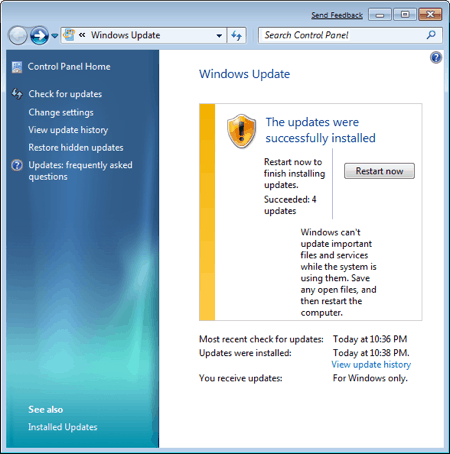
WiFi will work immediately (no drivers to install) so connect to the Internet. Windows 7 will then begin to download updates, including the proper video card driver. Let it do its thing.

Once completed, you’ll be prompted to reboot yet again. Do so.
Once Windows 7 boots back up again, you’ll notice the resolution is much better, and you can enable the advanced graphics features.

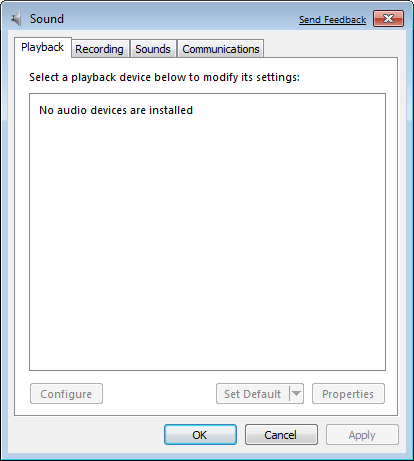
But if you check for sound, you’ll notice there are no sound drivers installed.
Insert your OS X Leopard (or Snow Leopard) DVD. When prompted, select
Run setup.exe.
Note: If you’re using Snow Leopard and a message pops up saying “Remote Install Mac OS X”, close that window and eject the CD. Put the CD in again and this time select “Open folder to view files”, navigate to the
Bootcamp folder, and run
setup.exe.

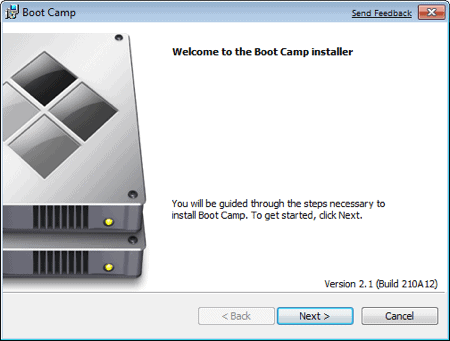
The Boot Camp installer will launch. Click
Next to begin.
Select
I accept the terms in the license agreement and then click
Next again.

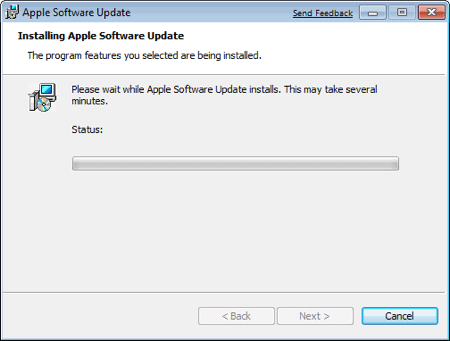
Make sure that
Apple Software Update for Windows is checked, and click
Install.

The Boot Camp installer will do its thing, and install all the required drivers.
Notifications will pop up with each driver that gets installed.

Once completed, click
Finish.

And yet
again you’ll be prompted to reboot. Remove your OS X Leopard DVD from the drive, and click
Yes to restart.

At this point most of the hardware on your Mac should be working in Windows. However, some iMacs and MacBook Pro’s will
have to update to the 3.1 version of Boot Camp for Windows.
That’s it, you’re done! When your Mac boots, hold down the
Option key to select which Operating System you want to boot into.

................................................................................
Enjoy...(Y)
And feel free to comment...


 1:57 AM
 NIKKHIL KAUSHIK


